
First here is a picture of the finished product


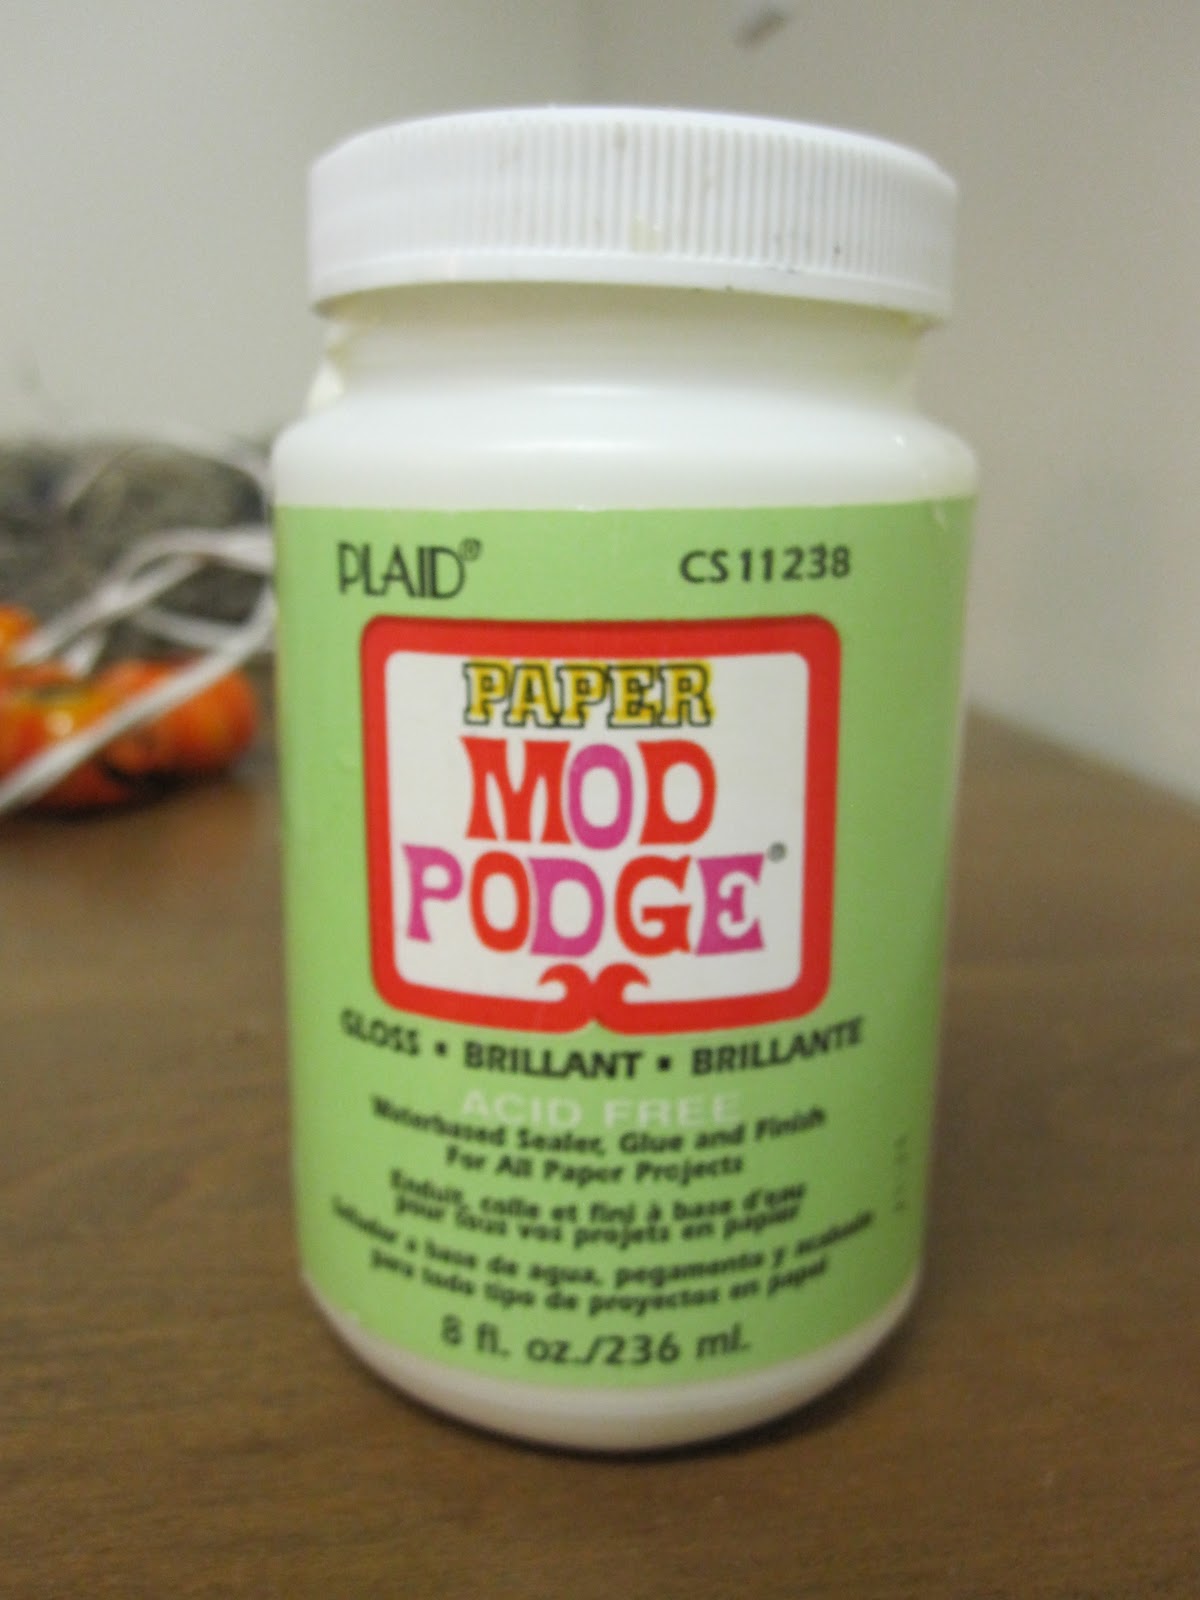
- mod podge ( I used paper mod podge, but I don't know if using regular makes a difference)
- Orange and Black Paint with brushes
- Glue gun and glue
- Halloween Paper - paper trimmer, measuring tool
- Trick or Treat Vinyl Lettering (I liked purple)
- Embellishments - ribbon, buttons, I used little halloween wood figures from Michaels
- A routered (finished edges) wood board. I make my own, but I have seen them at Michaels
- A sanding block

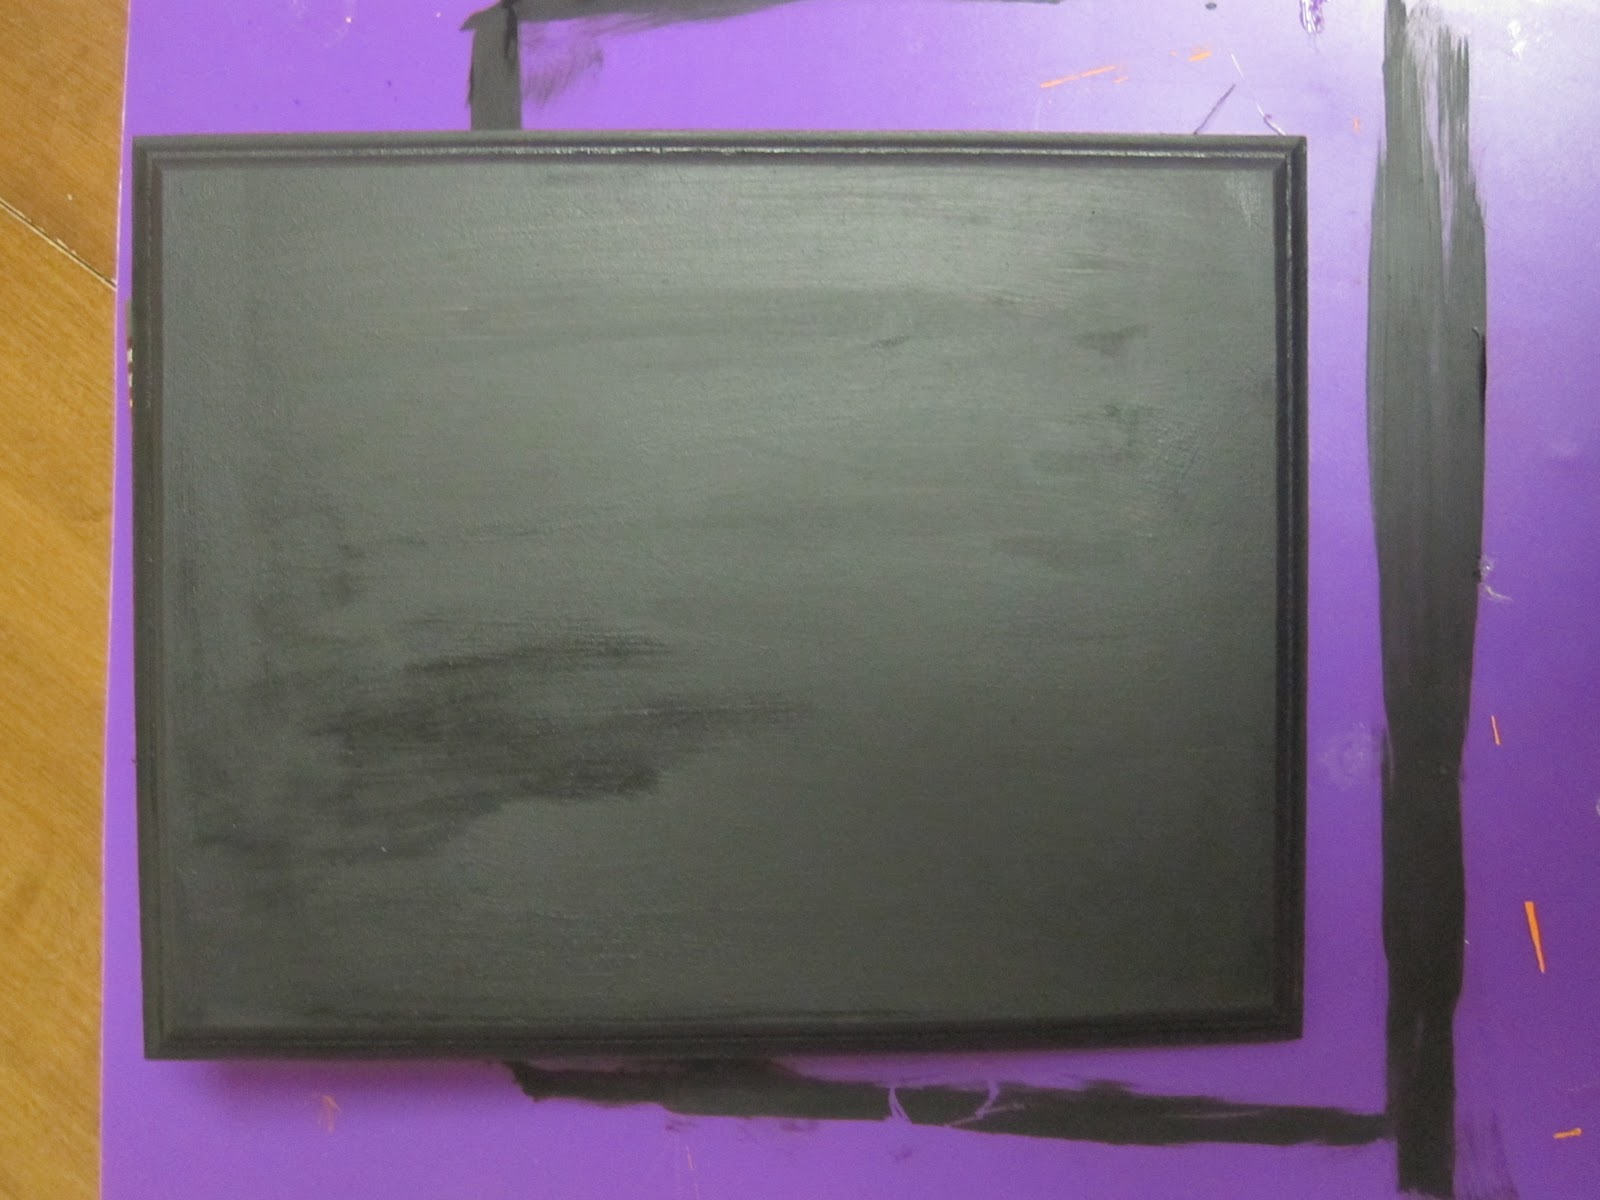
1. Paint your board orange, focusing mainly on the edges. I did 3 coats, the thicker the better.

2. After the orange has dried, paint black over top. A nive light coat will do.
3. While the paint is drying, measure your board and paper, cut your paper to the appropriate size to cover the top of the board. I left my paper about 1/4" smaller, so I could see the edges better.

4. Once your board is dry, sand around the edges until the orange shows through. It's your choice how much orange you want showing... so have fun!

5. Wipe off the excess dust from sanding, then pour on the mod podge! Cover the top of your board thickly, don't worry if it goes over the edge or has a lot on it.

6. Place your paper on top of the mod podge, smooth out the bubbles the best you can. I use a brayer, also found at michaels and it works awesome... look for it in the wood - painting area. Then pour on more mod podge to seal it. Smooth it all out the best you can and even do the edges, it will help protect it from the elements.. (sticky fingers, drooling mouths, etc, or it's that in my house right now).


7. Place your embellishments before putting them on with the vinyl lettering, so you can have an idea of the final outlook.

8. Stick em all down! The vinyl lettering first, then glue your embellishments and I added the ribbon last. I also sprayed the whole thing with sealer, picture below, so I can dust this little beauty as I need too!


VOILA! You are done! Let me know if you decide to do this! I would love to see pictures!!! :)

Happy Halloween!


1 comment:
Soooo cute! I am going to have to look for some halloween paper now! Maybe I will try it christmas style as well!
Post a Comment